
The Workflow
Say you’ve just gone through an Ernst Haas book, one with lots of motion-blurred images, and you feel inspired. You want to emulate the Austrian photographer, but it’s bright and sunny outside (a rarity!) - you could wait for a cloudy day, but sometimes even cloudy days aren’t helping. Your camera’s minimum ISO is 200, and still there’s too much light for the low shutter speed you need. These are not analog days when Mr. Haas used Kodachrome 10 or 25 ISO, which is why he was using slow shutter speed, a happy accident when I’m sure before he went out he was hoping for a fast ISO colour film. He had to make do. Just like you might have to make do with the technological advantage that Haas didn’t have… unless you get yourself an ND filter or Neutral Density filter. If you’re new to photography, an ND filter is basically a filter that blocks light from getting to your sensor (or film) and forces you to « compromise » by lowering your shutter speed. It’s also used by videographers for the same reason (I’m clueless about video, I can’t realistically explain the why here).
Photography is a bunch of compromises that answer to the laws of physics and light, a tug of war between the aperture, the shutter speed, and the strength of the captor (digital or analog), and the role of the photographer is to decide what he or she wants out of the picture being made. You want bokeh, but there’s a lot of light? ND filter. Same for the low shutter speed effect. The ND filter is, I think, essential with modern photography. Sensors are « too good », the one I use is a multi-strength one which rotates like a polarizer, which might cut light by 1, 2, 3, or even 4 stops, which, depending on how much you want to pay for it, adds nothing else to the image, hence the neutral. //
Disons que vous venez de parcourir un livre d’Ernst Haas, rempli d’images floutées par le mouvement, et que vous êtes inspiré. Vous voulez imiter le photographe autrichien, mais il fait un grand soleil dehors (chose rare !) – vous pourriez attendre un jour nuageux, mais parfois même les jours nuageux n’aident pas. Le réglage ISO minimum de votre appareil est 200, et malgré cela, il y a encore trop de lumière pour la vitesse d’obturation lente dont vous avez besoin. Ce ne sont plus les jours de l’argentique, lorsque M. Haas utilisait de la Kodachrome 10 ou 25 ISO, raison pour laquelle il travaillait avec une vitesse lente, un heureux accident alors qu’il espérait sûrement, avant de sortir, avoir une pellicule couleur à ISO rapide. Il a dû faire avec. Tout comme vous pourriez devoir composer avec l’avantage technologique que Haas n’avait pas… à moins de vous procurer un filtre ND ou filtre à densité neutre.
Si vous débutez en photographie, un filtre ND est essentiellement un filtre qui empêche la lumière d’atteindre votre capteur (ou la pellicule) et vous force à « compenser » en réduisant votre vitesse d’obturation. Les vidéastes l’utilisent aussi pour la même raison (je suis nul en vidéo, je ne peux pas honnêtement expliquer pourquoi ici).
La photographie est une suite de compromis qui obéissent aux lois de la physique et de la lumière, un tir à la corde entre l’ouverture, la vitesse d’obturation et la sensibilité du capteur (numérique ou analogique), et le rôle du photographe est de décider ce qu’il ou elle veut obtenir de l’image. Vous voulez du bokeh, mais il y a beaucoup de lumière ? Filtre ND. Idem pour l’effet de vitesse lente. Le filtre ND est, à mon avis, essentiel en photographie moderne. Les capteurs sont « trop performants », celui que j’utilise est un modèle à densité variable qui tourne comme un polariseur, pouvant réduire la lumière d’1, 2, 3, voire 4 stops, et qui, selon ce que vous êtes prêt à dépenser, n’ajoute rien d’autre à l’image, d’où le terme neutre.
ISO200 | 1/15sec | f/16 | ev -.3 stop
📷 Leica M10, 50mm f/1.5 voightlander nokton
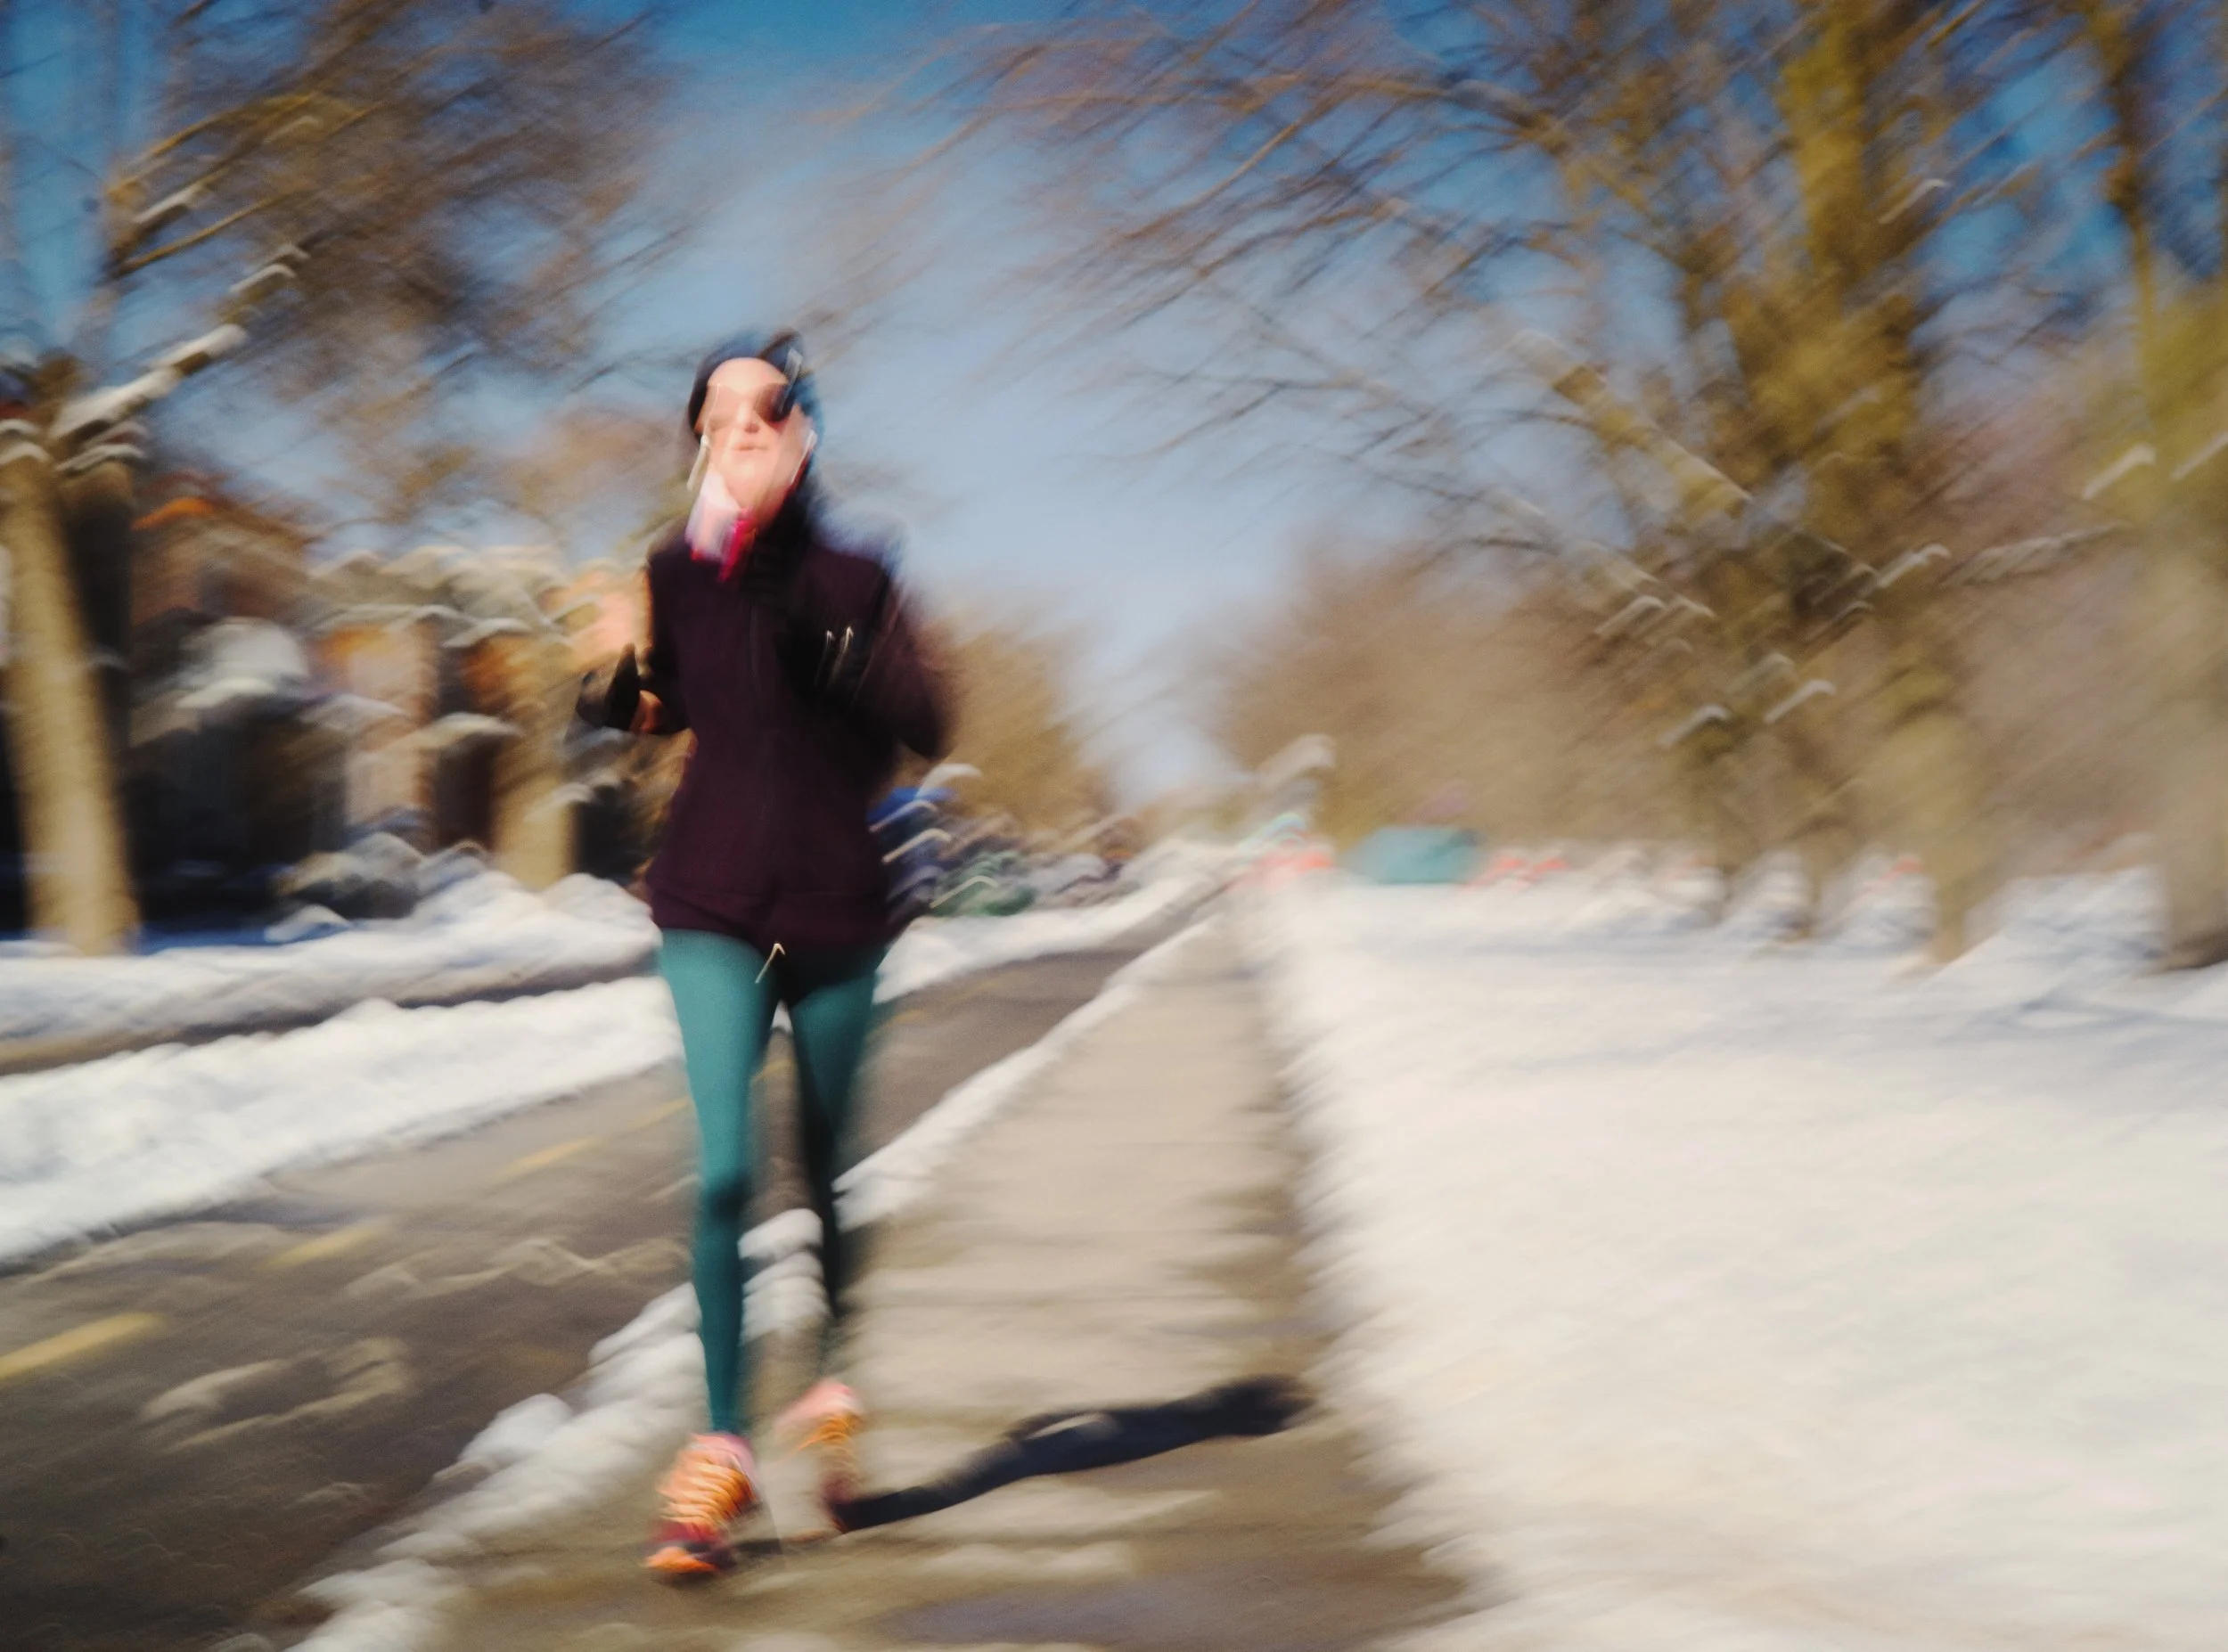
After/Apres
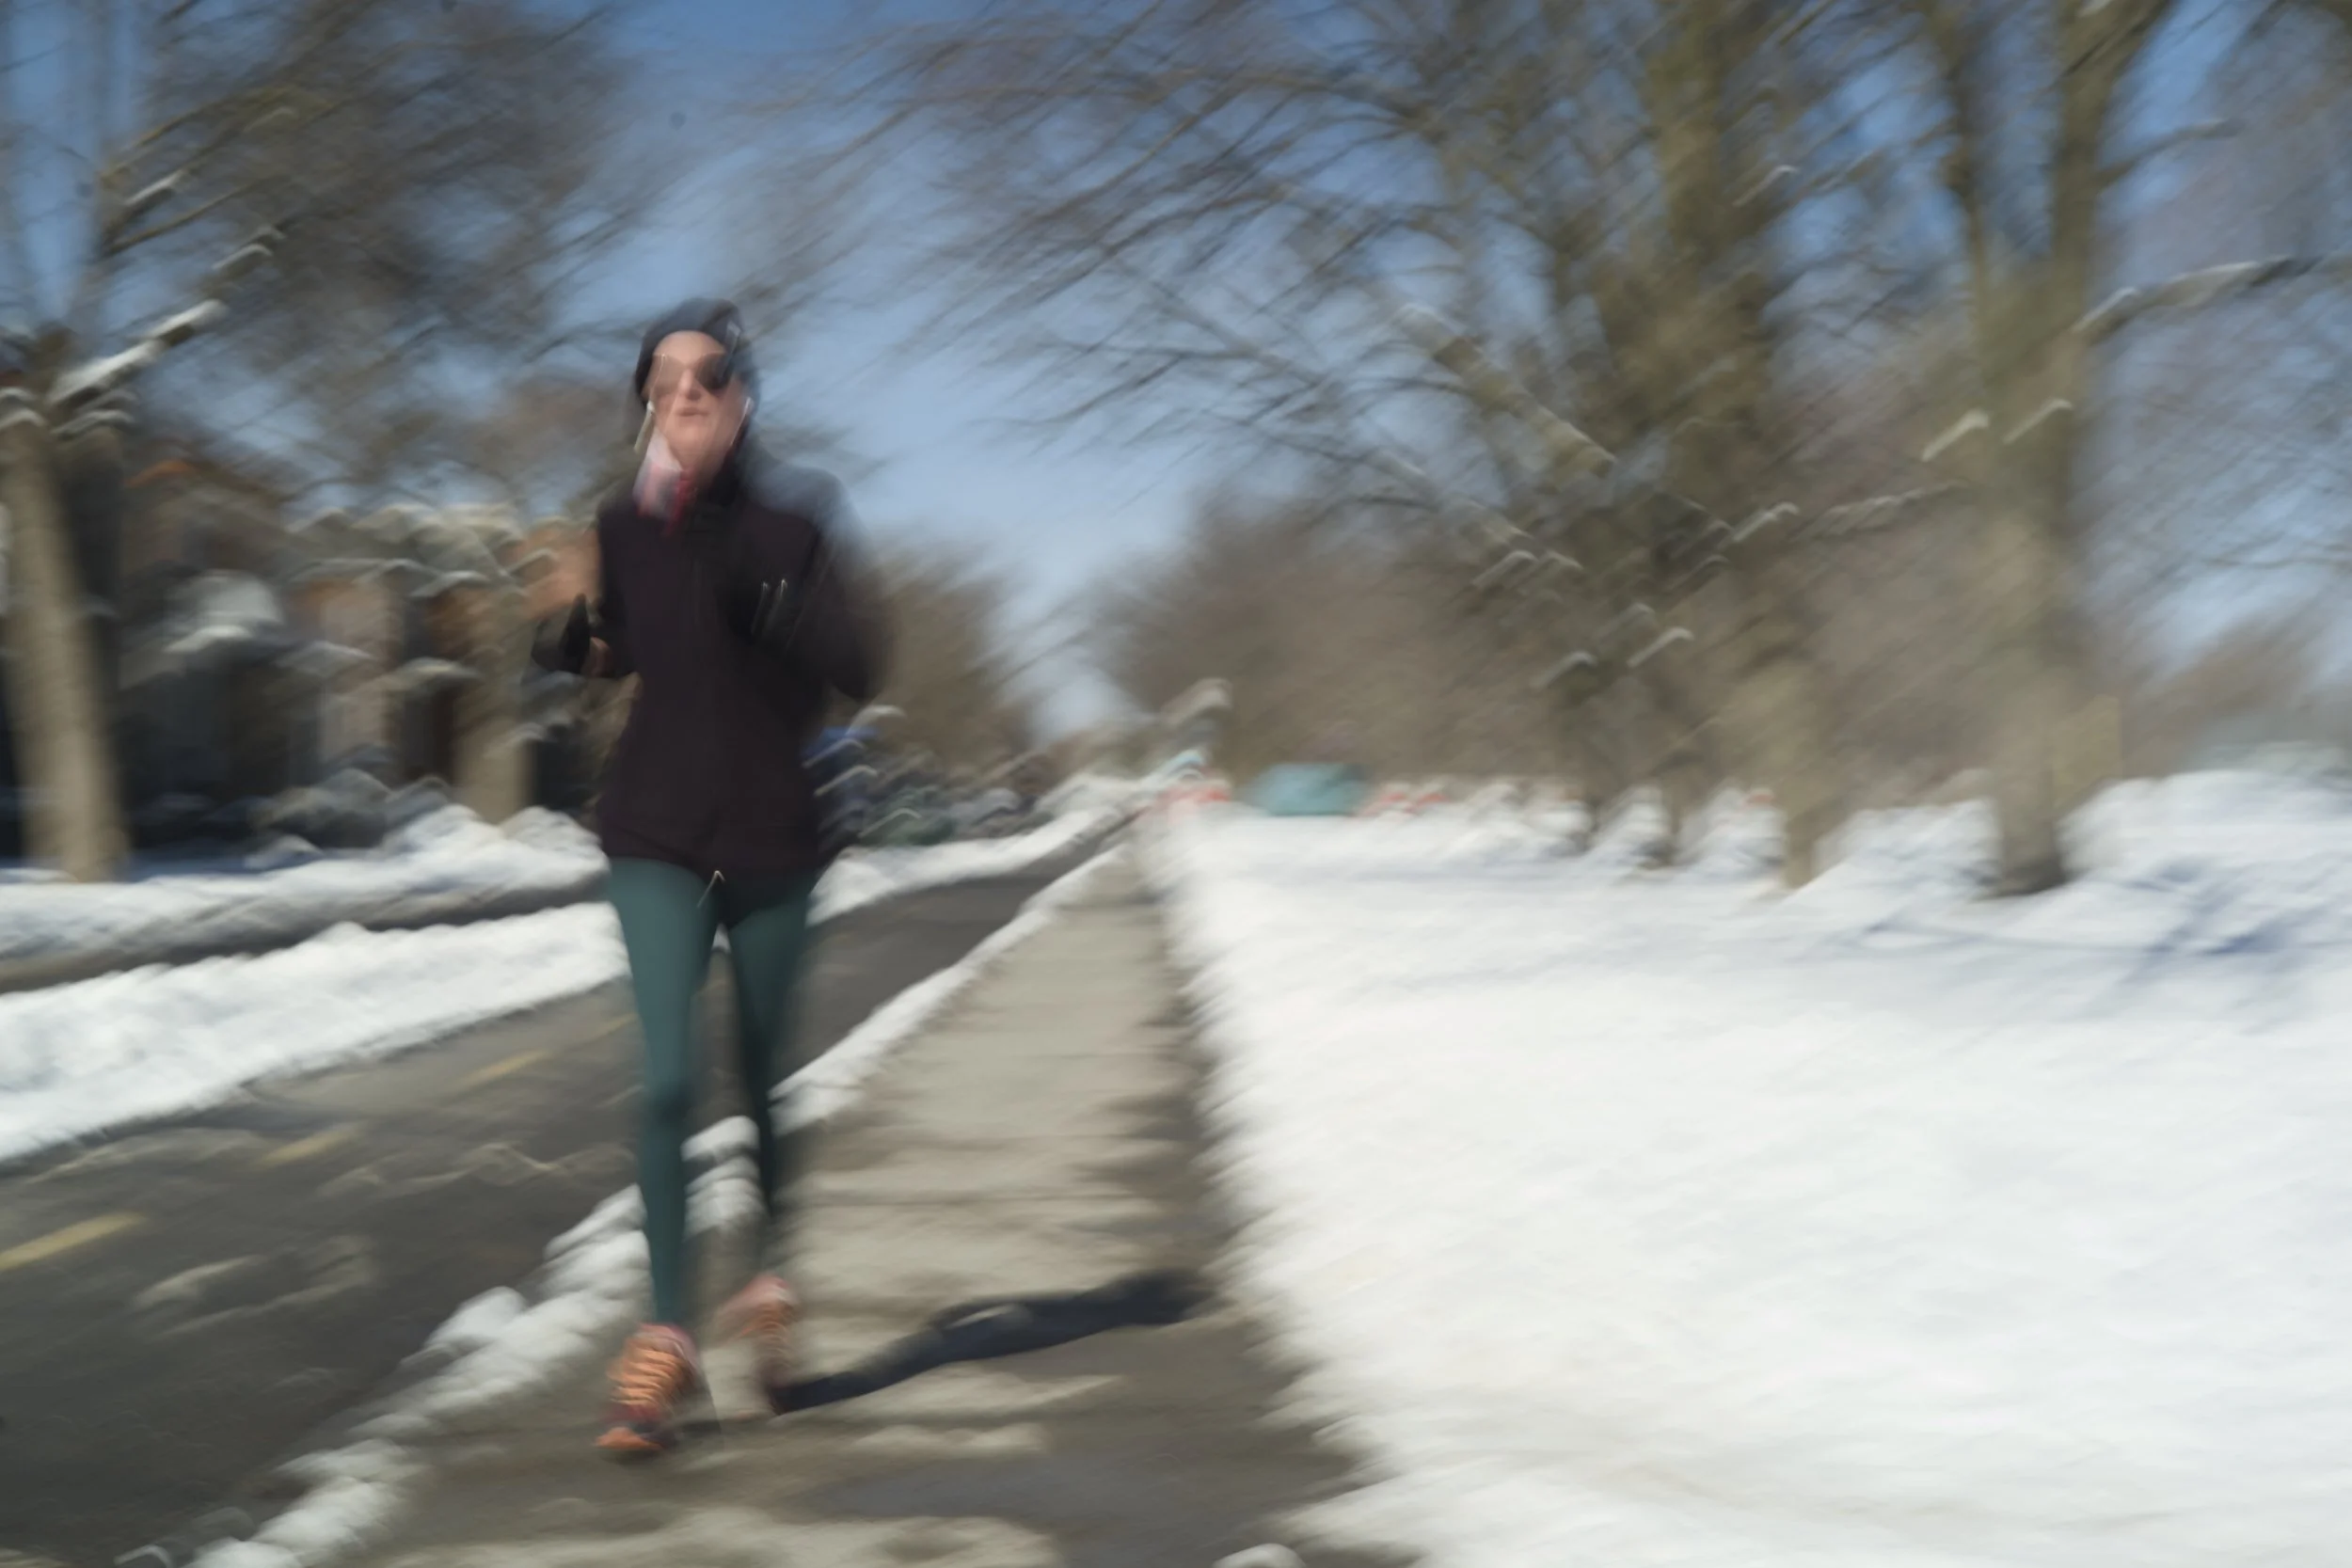
Original